tistory 블로그 글 git action 을 이용해 github 에 올리기
git Action 을 이용한 블로그와 github 동기화하는 방법을 다룹니다.
tistory 블로그 글 git action 을 이용해 github 에 올리기
블로그 포스팅을 github에 자동으로 올리는 방법을 알아보려고 합니다. 이 글은 tistory 블로그를 기준으로 설명합니다.
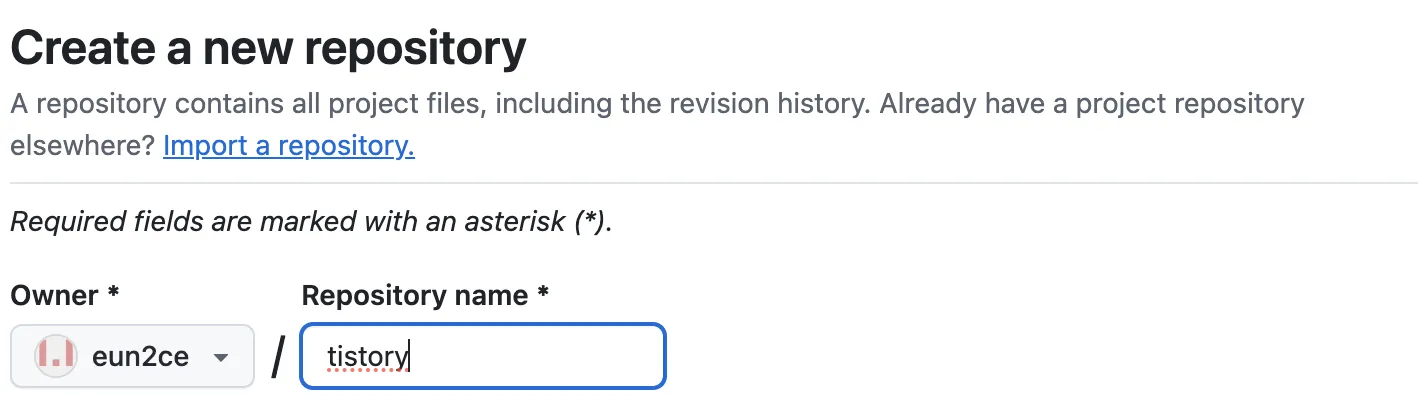
github 레포(repository) 생성
블로그 글을 남길 레포지토리를 생성합니다.
git actions 생성
특정 주기로 블로그 글을 가져올 수 있도록하려면 아래와 같은 작업이 필요합니다.
main.py 작성
1
2
3
4
5
6
7
8
9
10
11
12
13
14
15
16
17
18
19
20
import feedparser, datetime

uri="https://eun2ce.tistory.com"
feed = feedparser.parse(uri+"/rss")

markdown_text = """# eun2ce.tistory.com
## blog posts
"""

lst = []


for i in feed['entries']:
    dt = datetime.datetime.strptime(i['published'], "%a, %d %b %Y %H:%M:%S %z").strftime("%b %d, %Y")
    markdown_text += f"[{i['title']}]({i['link']}) - {dt}<br>\n"
    print(i['link'], i['title'])

f = open("README.md",mode="w", encoding="utf-8")
f.write(markdown_text)
f.close()
생성한 레포지토리에서 Actions 클릭
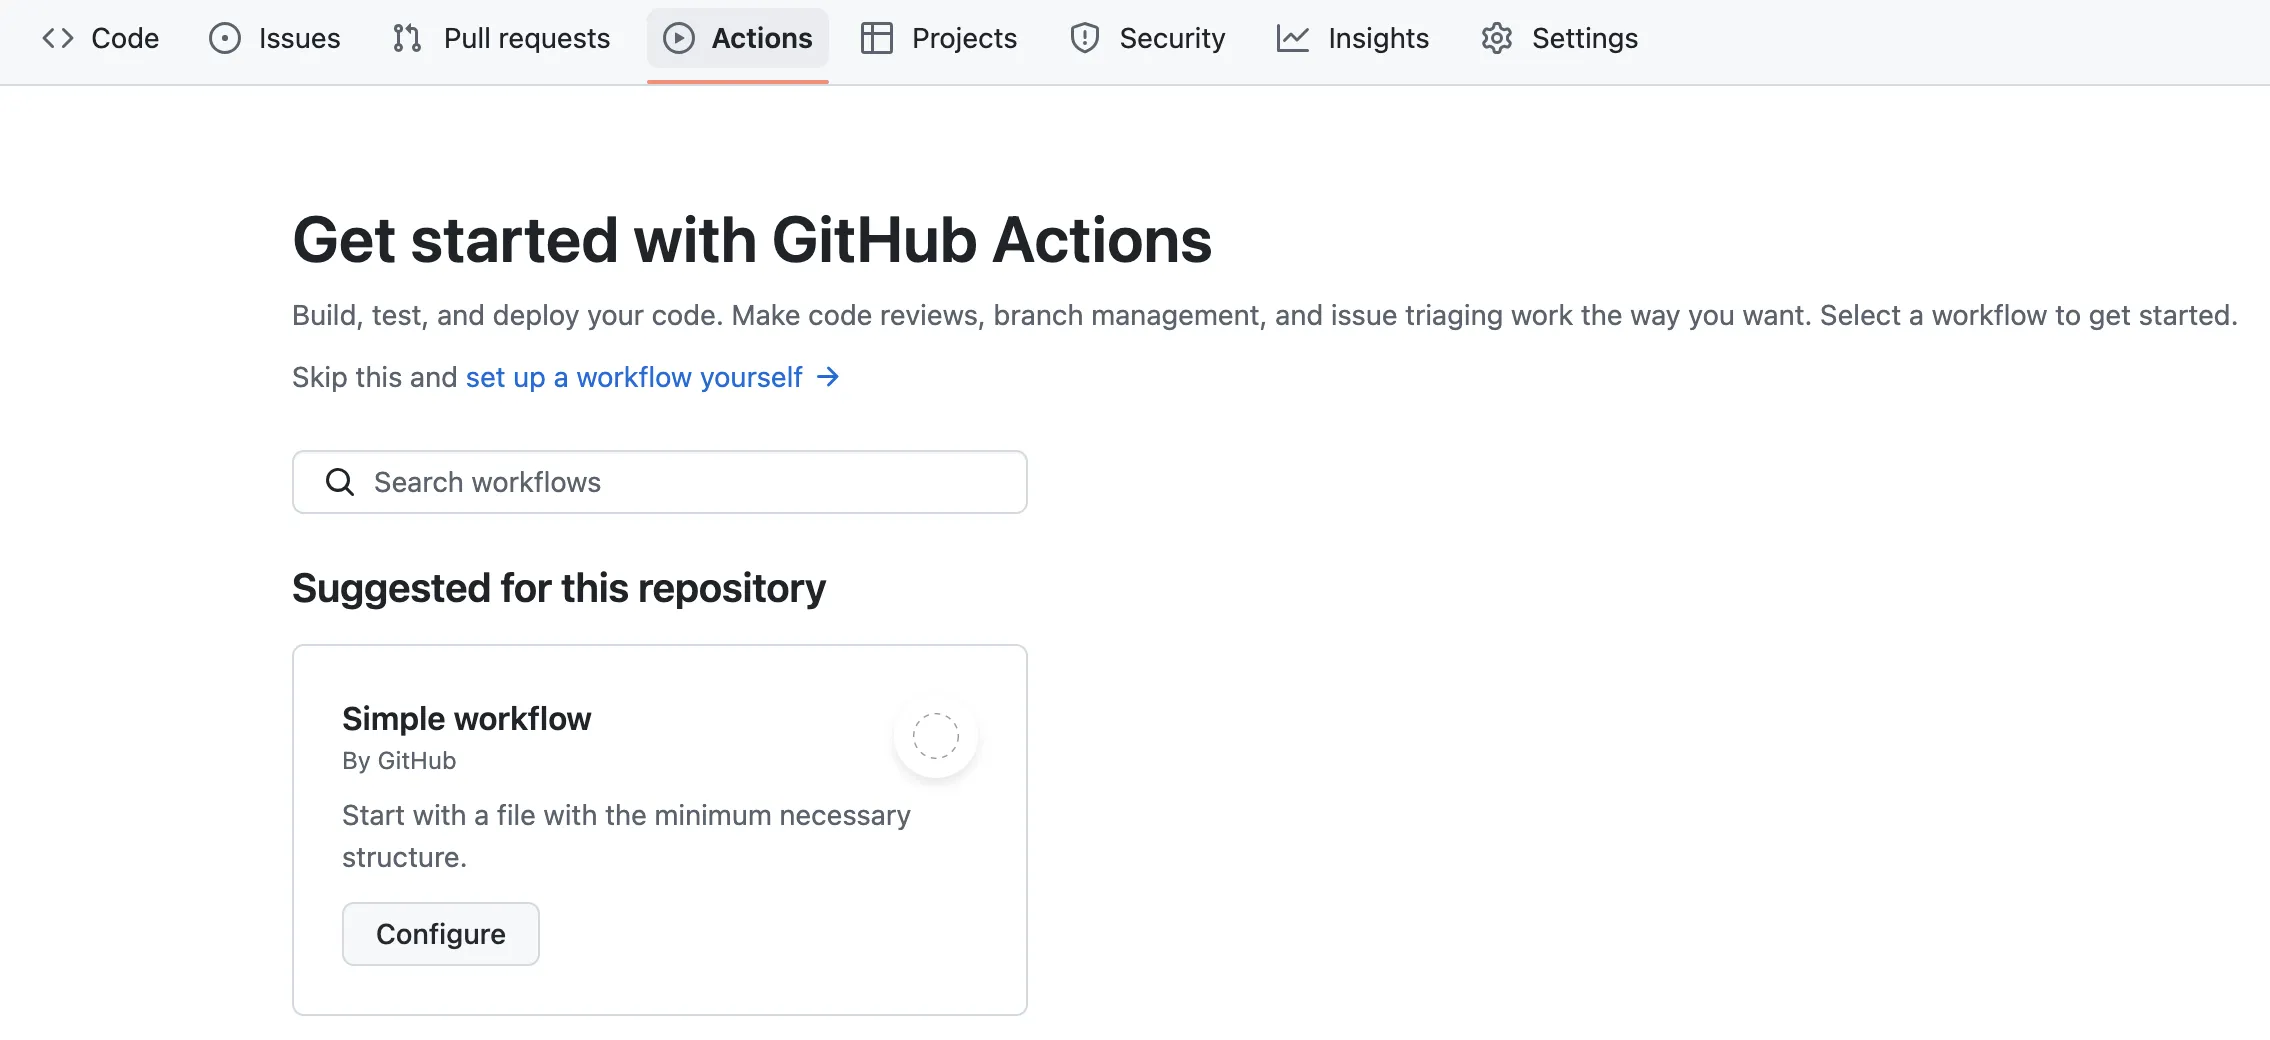
workflow 파일 작성
Simple workflow 클릭하고 아래 내용을 복사해줍니다. (자세한 설명은 주석을 참고해주세요.)
1
2
3
4
5
6
7
8
9
10
11
12
13
14
15
16
17
18
19
20
21
22
23
24
25
26
27
28
29
30
31
32
33
34
35
name: tistory updater

on:
  push:
    branches: [ main ] # 어느 브랜치에 push
  pull_request:
    branches: [ main ] # 어느 브랜치에 pull request
  schedule: # https://en.wikipedia.org/wiki/Cron
    - cron: "0 0 */1 * *" # 매일
    # - cron: "*/1 * * * *" # 1분마다 (테스트용도로만 사용하세요)

jobs:
  build:
    runs-on: ubuntu-latest # ubuntu 최신 버전 사용
    steps:
    - uses: actions/checkout@v2
    - name: Set up Python 3.7
      uses: actions/setup-python@v2
      with:
        python-version: '3.7' # 사용하고 싶은 버전 사용해도 상관 x
    - name: Install dependencies
      run: |
        python -m pip install --upgrade pip
        pip install feedparser
    - name: Update README
      run: |
        python main.py
    - name: Commit README
      run: |
        git add .
        git diff
        git config --local user.email "eun2ce@gihtub.com" # commit 이력에 남길 email
        git config --local user.name "eun2ce" # commit 이력에 남길 유저 명
        git commit -m "docs: updated my tistory blog"
        git push
git action 권한 추가
레포지토리에서 아래의 옵션을 켜주어야, git action 이 readme.md 파일에 글을 쓸 수 있는 권한을 갖습니다.
settings > actions > general > Workflow permissions > Read and write permissions 체크 후 저장
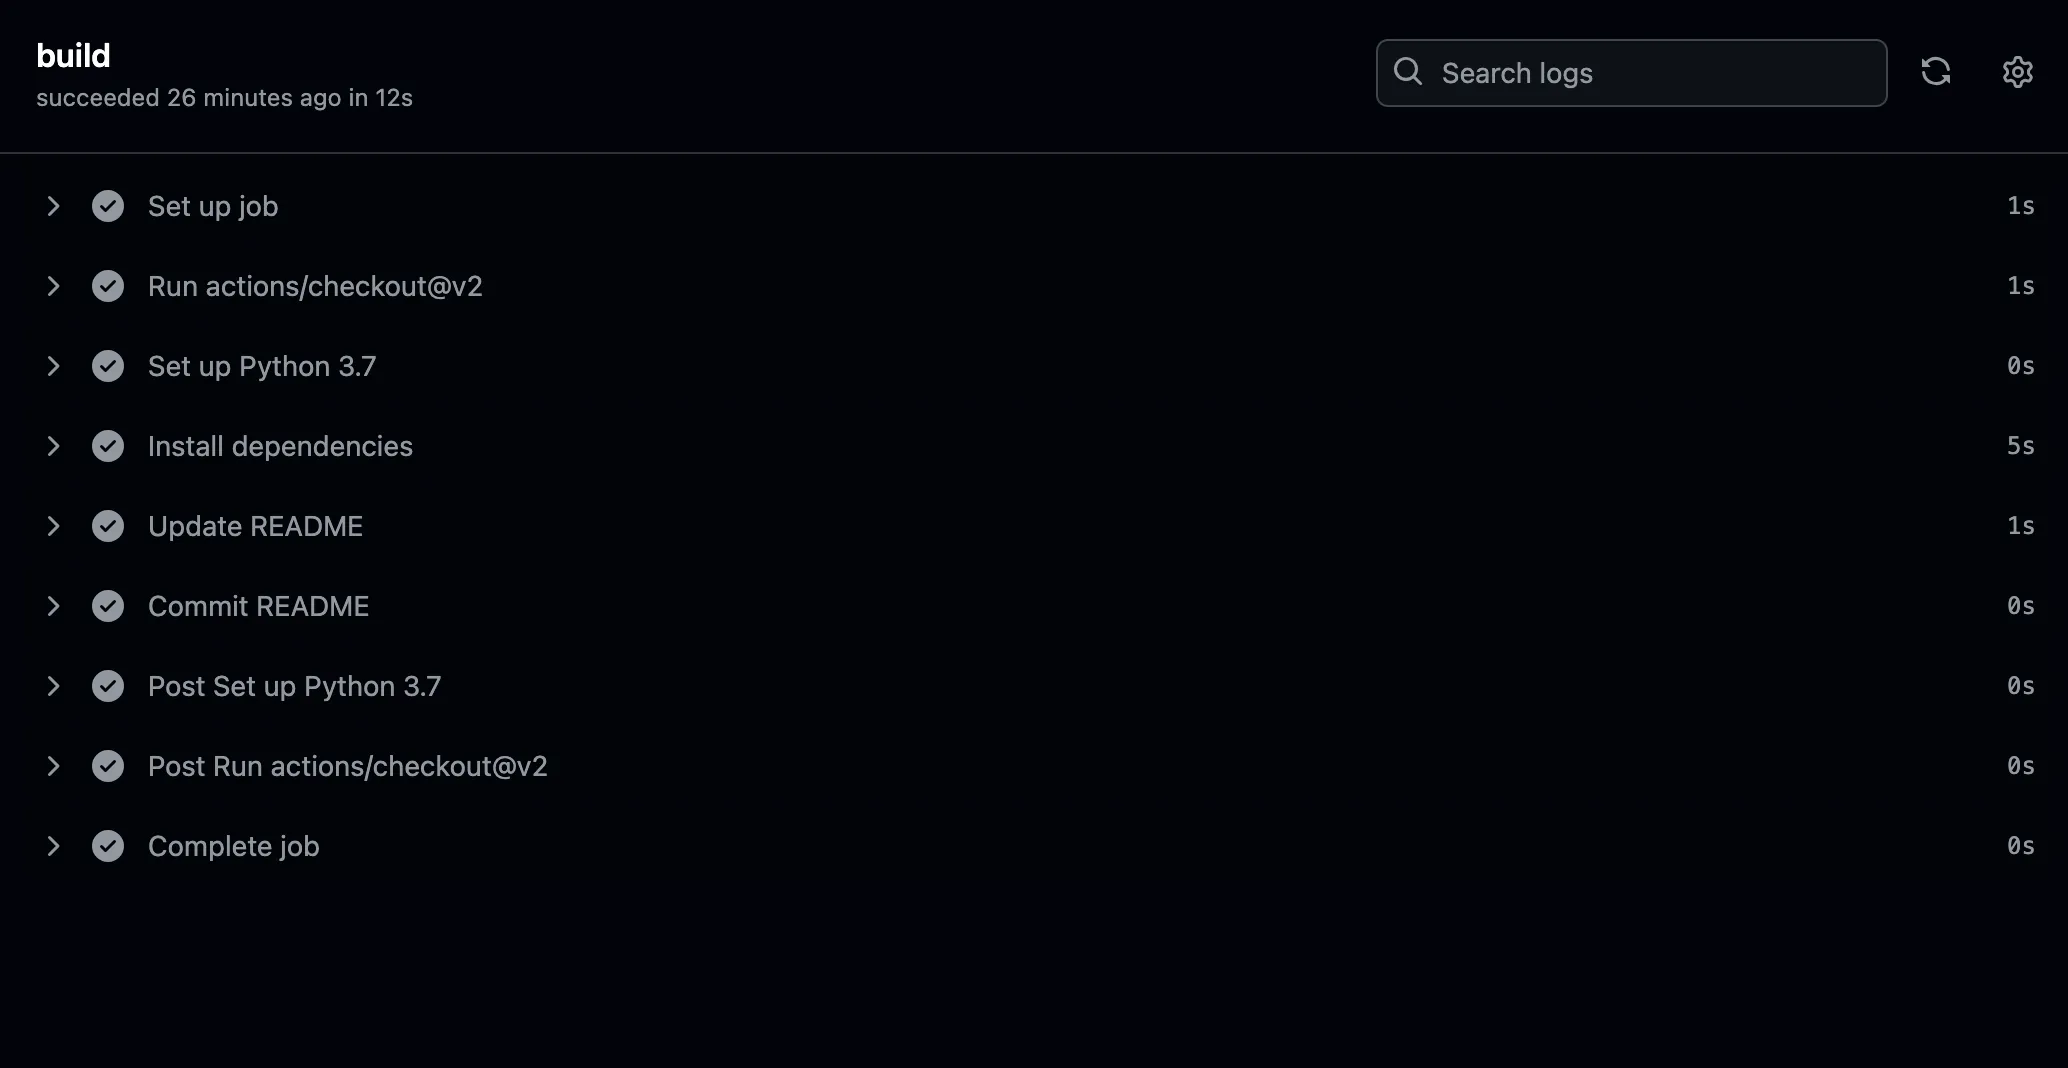
결과
actions > tistory uploader 에 들어가면 다음과 같이 블로그 글이 업로드 된 것을 확인할 수 있습니다.
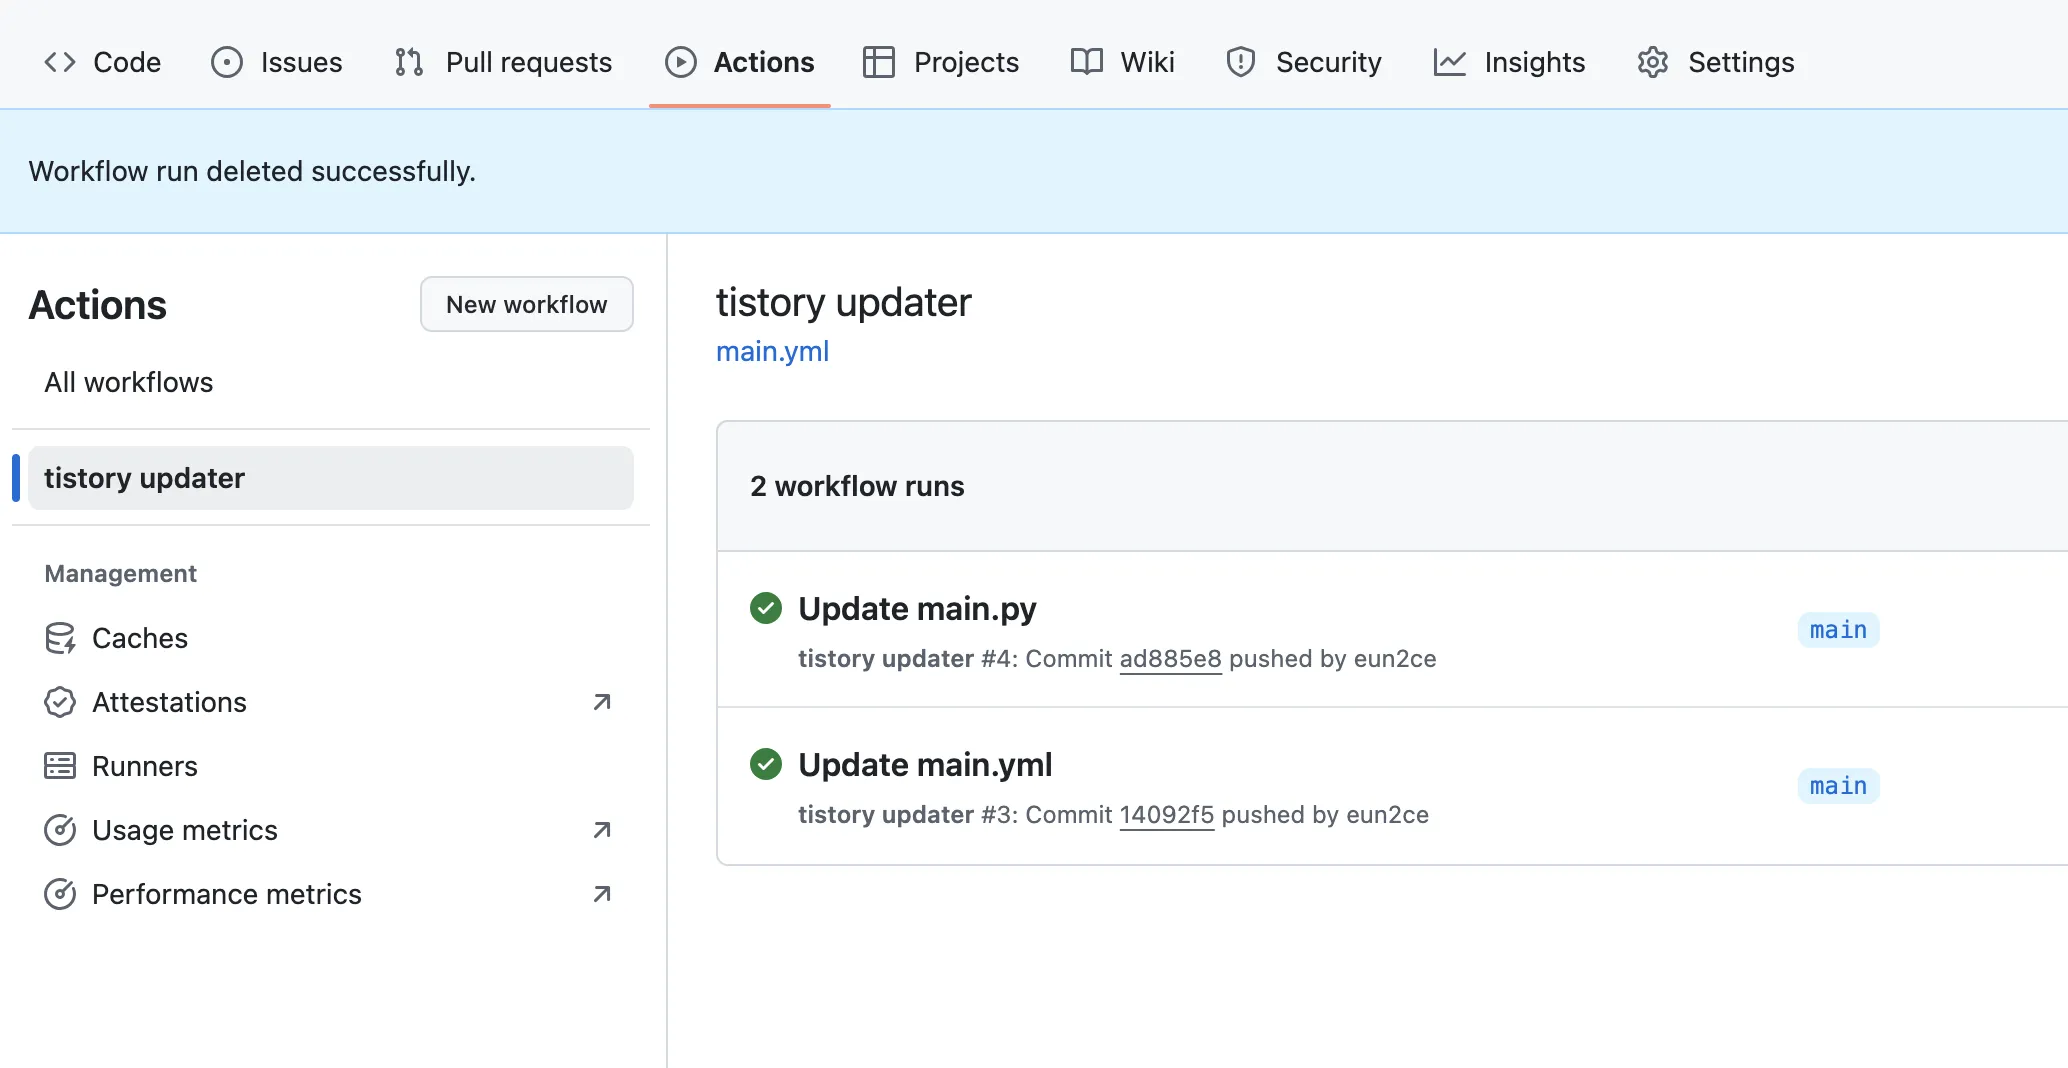
작성 한 내용이 어떻게 나타나는지 확인하려면 actions 에서 tistory uploader를 클릭하면 됩니다.
example
This post is licensed under CC BY 4.0 by the author.